
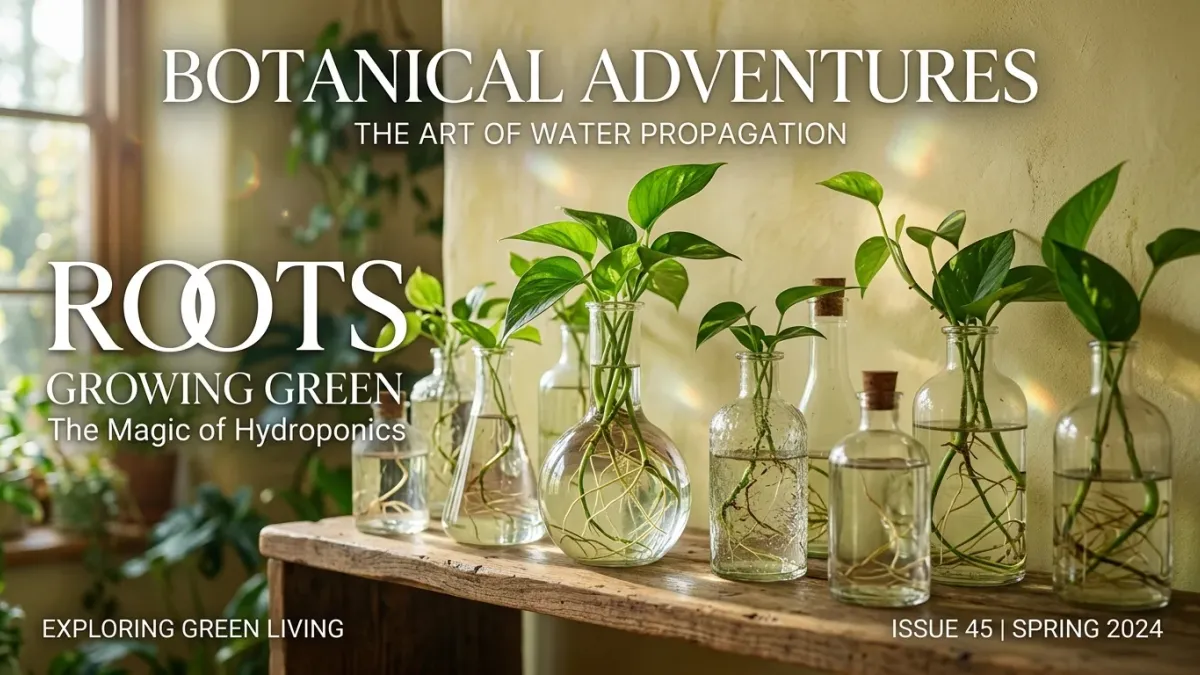
There's a unique thrill in watching a tiny stem, once part of a larger plant, unfurl new leaves and develop a robust root system in nothing but a glass of water. It feels like magic, doesn't it? Here at Easy Houseplant Care, we believe that magic should be accessible to everyone. While the initial joy of seeing roots emerge is undeniable, the true art of successful water propagation lies in what comes next: guiding that fragile, water-grown cutting into a strong, soil-dwelling houseplant ready to flourish in your home.
Many plant parents master the first step – getting roots in water – but then struggle with the critical transition to soil. This comprehensive guide is designed to empower you with the knowledge and confidence to complete the full circle of life for your water-propagated cuttings, ensuring they not only survive but thrive. Whether you're an apartment dweller dreaming of a lush indoor jungle on a budget, a homeowner looking to fill new spaces, or simply a plant enthusiast who loves nurturing new life, we're here to help you turn those little glass jars into vibrant potted masterpieces.
The Journey Begins: Selecting & Preparing Your Cuttings for Success
Before any roots can form, you need a healthy starting point. The success of your water propagation largely hinges on the quality of your cutting and how you prepare it. Think of this as laying the groundwork for a robust future plant.
Choosing Your Parent Plant & Making the Cut
- Health is Key: Always select a vigorous, healthy stem from a pest-free and disease-free parent plant. Avoid any parts that look stressed, yellowing, or damaged. A strong parent leads to a strong baby.
- Locate the Node: This is the most crucial step! A node is a small bump or joint on a plant stem where a leaf, branch, or aerial root naturally emerges. It contains dormant cells that, when submerged in water, are stimulated to produce new roots. For many vining plants like Pothos (Epipremnum aureum), heartleaf Philodendron (Philodendron hederaceum), and Scindapsus (Satin Pothos), nodes are easily identifiable just below where a leaf attaches to the stem.
- Sharp & Clean Tools: Always use sharp, clean scissors or pruning snips to make your cuts. Dull tools can crush plant tissue, making it harder for the plant to heal and root. Sterilize your tools with rubbing alcohol between plants to prevent the spread of potential diseases.
- Optimal Cutting Length: Aim for cuttings that are typically 4-6 inches long and have at least 2-3 nodes. More nodes mean more potential rooting sites, increasing your chances of success.
- The Perfect Snip: Make your cut just below a node. This ensures that the node is fully present on your cutting and will be submerged in water.
- Remove Lower Leaves: Gently strip off any leaves that would be submerged in water. Leaves left in water will rot, fouling the water and potentially causing the stem to rot as well.
Optional Pre-Propagation Steps
- Callusing (for some plants): For succulent-like plants such as Peperomia (e.g., Peperomia obtusifolia) or certain succulents that can be water propagated, it's beneficial to let the cutting 'callus' over for a few hours or even a day. This means allowing the cut end to dry and form a protective seal, which helps prevent rot when placed in water. For most common vining houseplants, this step isn't necessary.
- Rooting Hormone: While many popular houseplants root readily without it, a rooting hormone (available as a powder or gel) can accelerate root development and improve success rates, especially for trickier varieties or if you want to speed up the process. Dip the cut end of your stem, including the node, into the hormone before placing it in water.
The Aquatic Nursery: Cultivating Strong Water Roots
Once your cuttings are prepared, it's time to set up their temporary home. Providing the right environment during the water rooting phase is crucial for developing a robust root system capable of supporting a new plant.
Choosing Your Propagation Vessel
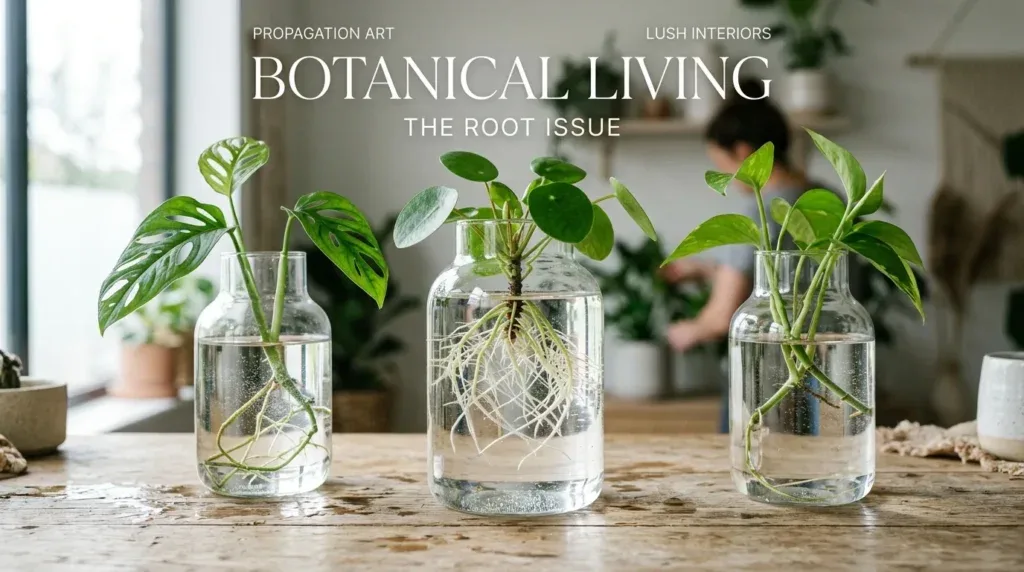
Almost any clean container will work, but clear glass jars, bottles, or dedicated propagation stations are ideal. Why clear? They allow you to easily monitor root development and water levels, giving you a front-row seat to the magic of new life. Ensure the opening of the container is wide enough to place the cutting but narrow enough to keep it upright, or use a support system if needed.
Water Quality & Maintenance
- Clean Water is Paramount: Use fresh, room-temperature tap water. If your tap water is heavily chlorinated, let it sit out in an open container for 24 hours to allow the chlorine to dissipate before adding your cuttings. Filtered water is also a good option.
- Regular Water Changes: This is non-negotiable! Change the water every 3-5 days, or whenever it starts to look cloudy. Stagnant water can lead to bacterial growth and stem rot. Fresh water also replenishes oxygen, which is vital for root development.
- Keep it Submerged: Ensure that at least one node (and preferably 2-3) remains fully submerged in the water at all times.
Optimal Environmental Conditions
- Light: Place your cuttings in a location that receives bright indirect light. This means a spot that is well-lit but not exposed to harsh, direct sunlight, which can scorch delicate new growth or heat the water too much. An east-facing window or a few feet away from a south or west-facing window is usually perfect.
- Temperature: Most houseplants prefer temperatures between 65-75°F (18-24°C) for optimal rooting. Avoid placing cuttings in cold drafts or near heating/cooling vents.
- Humidity: While not strictly necessary for most water-propagated plants, higher ambient humidity can sometimes encourage faster rooting, especially for plants that naturally thrive in humid environments. A pebble tray underneath the propagation station or occasional misting can provide a slight boost.
Patience is a virtue here! Root development can take anywhere from a week (for fast rooters like Tradescantia or Pothos) to several weeks or even months (for Ficus or some Hoyas). Keep an eye on your cuttings, change the water regularly, and enjoy watching those delicate white roots emerge and lengthen.
The Big Move: Transitioning Water Roots to Soil with Confidence
This is arguably the most critical stage of water propagation – moving your rooted cutting from its aquatic nursery to a pot of soil. Water roots are different from soil roots; they are thinner and more fragile, adapted to nutrient absorption directly from water. The goal is to help them adapt to their new soil environment without suffering significant transplant shock.
When Is It Time to Pot?
The timing is crucial. Wait until your roots are at least 1-2 inches long and have developed some secondary branching. They should look robust and healthy, not just wispy threads. For plants like Monstera or larger Philodendrons, roots can be 3-4 inches long before potting. Potting too early (roots too small) or too late (roots too long and entangled) can both lead to issues.
Preparing for the Transition
- Choose the Right Pot: Select a pot that is only slightly larger than the root ball. A 3-4 inch nursery pot with drainage holes is often ideal for a single cutting. Too large a pot holds too much moisture, which can lead to rot.
- Prepare a Well-Draining Soil Mix: Well-draining soil mix is essential to prevent waterlogging and root rot. For newly rooted cuttings, a slightly lighter mix can be beneficial to ease the transition. A good recipe is 50% high-quality indoor potting mix, 30% perlite (for aeration and drainage), and 20% coco coir or fine orchid bark (for moisture retention without compaction).
- Hydrate the Soil: Pre-moisten your soil mix until it's evenly damp but not soaking wet. It should feel like a wrung-out sponge.
The Planting Process (Gentle & Deliberate)
- Create a Hole: Fill your pot partially with the pre-moistened soil mix. Use your finger or a chopstick to create a small indentation in the center, large enough to comfortably accommodate the roots.
- Handle with Care: Gently remove the cutting from the water. Be extremely careful not to damage the delicate water roots. They are much more fragile than soil-grown roots.
- Position the Cutting: Place the cutting in the prepared hole, ensuring the roots are spread out rather than bunched up. The base of the stem (where roots emerge) should be just at or slightly below the soil surface, similar to how it would grow naturally.
- Backfill & Settle: Carefully backfill the pot with more pre-moistened soil, gently patting it down around the stem to ensure good contact with the roots and to remove large air pockets. Avoid compacting the soil too much.
- Initial Watering: Give the newly potted cutting a gentle but thorough watering. The goal is to settle the soil around the roots and ensure they are well-hydrated. Let excess water drain completely from the bottom of the pot.
Post-Planting Acclimation
The first few weeks after potting are critical for your cutting to adjust to its new soil environment. This period is often referred to as "transplant shock," where the plant experiences stress due to the change in conditions.
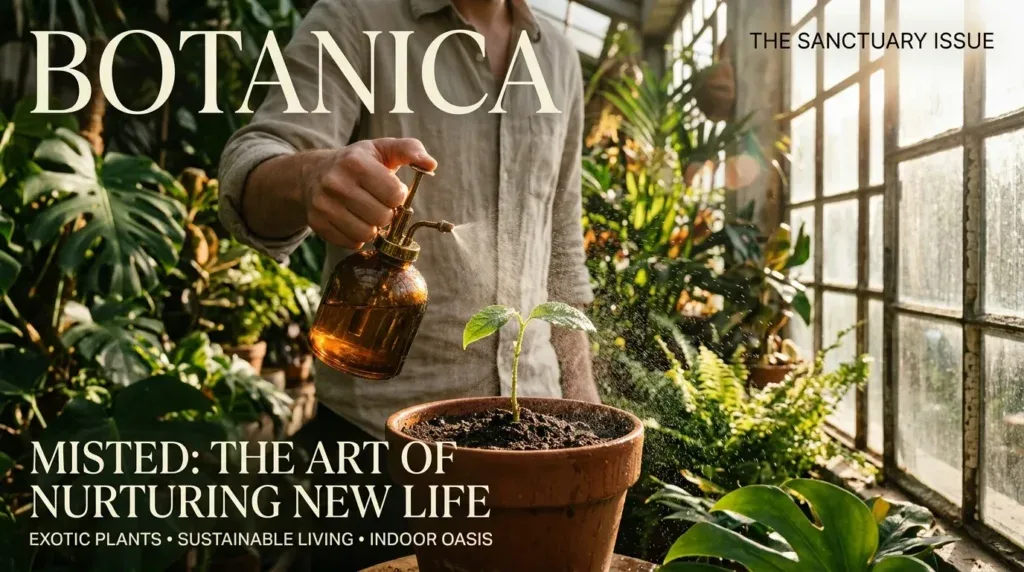
- Humidity & Warmth: Place your newly potted cutting in a warm spot with high humidity. A small DIY humidity dome (like a clear plastic bag or a cut-off plastic bottle placed over the plant) can work wonders for the first week or two. Gradually introduce it to lower humidity.
- Bright Indirect Light: Continue to provide bright indirect light. Avoid direct sun, which can be too intense for a stressed plant.
- Watering: This is where a moisture meter can be your best friend! Water when the top 1-2 inches of soil feel dry. Err on the side of slightly less water than too much, as root rot is a major risk during this phase. Consistency is key – don't let the soil dry out completely, but don't keep it constantly soggy.
- No Fertilizer Yet: Do not fertilize for at least 3-4 weeks after potting. The plant needs time to establish its new root system before it can effectively utilize nutrients from fertilizer.
Troubleshooting & Beyond: Nurturing Your New Plant's Growth
Even with the best intentions, you might encounter a few bumps along the road. Knowing how to diagnose and address common issues can save your new plant.
Common Problems & Solutions
- Yellowing Leaves (after potting): This is often a sign of transplant shock. The plant is expending energy on root development rather than maintaining its foliage. It's often temporary. Ensure consistent watering, good humidity, and avoid over-fertilizing. If only lower leaves yellow and drop, it's usually less concerning than widespread yellowing.
- Wilting (after potting): Can be due to underwatering (roots not getting enough moisture) or overwatering (roots rotting). Check soil moisture with your finger or a moisture meter. If dry, water thoroughly. If soggy, allow to dry out more and improve drainage.
- Slow or No Rooting:
- Issue: Water isn't changed frequently enough, lack of sufficient light, or too cold.
- Solution: Ensure regular water changes (every 3-5 days), move to brighter indirect light, and maintain consistent room temperature. A dab of rooting hormone can also help.
- Stem Rot in Water:
- Issue: Leaves left in water, stagnant water, or a non-sterile cut.
- Solution: Trim off the rotted part with sterile scissors, remove any submerged leaves, and place in fresh, clean water. Change water daily until rooting begins.
Ongoing Care for Your Young Houseplant
Once your cutting has successfully transitioned and shows signs of new growth (new leaves emerging), you can treat it more like a mature houseplant, albeit a small one. Continue to provide bright indirect light and water when the top 1-2 inches of soil are dry. After about a month, you can begin a regular fertilization schedule during the growing season (spring and summer) using a balanced liquid fertilizer (e.g., a 10-10-10 or 20-20-20 formula) diluted to half strength every 4 weeks. As your plant grows, you may need to repot it into a slightly larger pot, but typically not until its roots start to fill the current pot.
Propagation isn't just about getting more plants for free; it's about connecting with the life cycle of your plants, understanding their needs, and experiencing the profound satisfaction of nurturing something from a tiny cutting into a thriving green companion. With these steps, you're not just propagating; you're cultivating life.
Quick "What to Do This Week" Takeaway
Check all your newly potted water cuttings for signs of transplant shock. Ensure their soil is consistently moist but not soggy, and that they're in a warm spot with bright, indirect light. If you have a humidity dome, keep it on for another few days. For any cuttings still rooting in water, change their water every 3 days and ensure no leaves are submerged.