Welcome to the World of Soil-Free Wonders: Why Air Plants Captivate
As a seasoned indoor gardener, I've had the pleasure of nurturing countless houseplants, but few bring the unique charm and conversation-starting appeal of air plants. Also known by their scientific genus, Tillandsia, these incredible epiphytes defy conventional plant care by thriving without a single speck of soil. That's right – no messy potting mix, no root-bound worries, just pure botanical elegance suspended in air!
For apartment dwellers, homeowners, or office workers seeking low-maintenance greenery that sparks joy, air plants are an absolute revelation. They're not just a plant; they're a living sculpture, adaptable to nearly any aesthetic. But while their care is often touted as "easy," there's a nuanced understanding that separates merely surviving air plants from truly thriving, vibrant specimens. Forget vague instructions; we're diving deep into the actionable steps that will transform your Tillandsias into spectacular showpieces, complete with creative display ideas and expert troubleshooting.
My goal here is to equip you with the "been there, done that" wisdom needed to cultivate flourishing air plants that boast lush foliage and even stunning blooms. By the end of this guide, you'll feel confident in providing the precise care your soil-free wonders crave, ensuring they look their absolute best year-round.
The Art of Hydration: Mastering Your Air Plant's Thirst
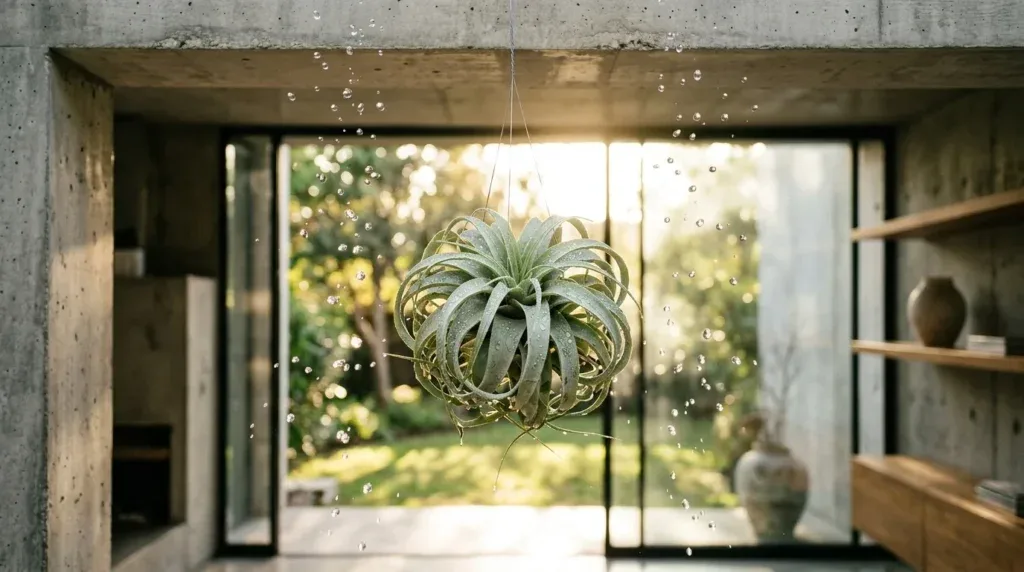
Watering air plants is arguably the most crucial aspect of their care, and it's also where many beginners stumble. Since Tillandsias absorb moisture and nutrients directly through specialized cells called trichomes (tiny, silvery, hair-like structures on their leaves), traditional watering methods simply won't do. The key isn't just *how* you water, but *how often* and *how thoroughly* you dry them afterwards.
The Soak-and-Shake Method: Your Go-To for Thirsty Tillandsias
For most Tillandsia varieties, especially the popular green-leafed (mesic) types like Tillandsia ionantha or Tillandsia caput-medusae, the "soak-and-shake" method is superior to misting alone. Misting often provides only superficial moisture, leaving the plant internally dehydrated over time.
- Gather Your Plants: Once a week, typically every 7-10 days depending on your home's humidity and the specific plant type, collect all your air plants.
- Prepare the Bath: Fill a bowl or sink with room-temperature water. Tap water is usually fine if it's not heavily chlorinated; otherwise, filtered water or rainwater is ideal. Avoid distilled water as it lacks essential minerals.
- Submerge Completely: Gently place your air plants into the water, ensuring they are fully submerged. Let them soak for 30 minutes to 2 hours. Thicker-leaved, silvery (xeric) varieties like Tillandsia xerographica might benefit from shorter soaks, while thinner, greener leaves can handle longer. If a plant looks particularly dehydrated (curled, puckered leaves), a longer soak (up to 3-4 hours) can help.
- The Critical Dry: This step is non-negotiable! After soaking, gently shake each plant upside down to remove excess water trapped in its crevices or leaf axils. Then, place them on a soft towel or drying rack in a well-ventilated area. Crucially, they must dry completely within 2-4 hours. A small fan can accelerate this process, especially in humid environments. Trapped moisture is the fastest way to cause lethal rot, particularly at the plant's base.
When to Adjust Your Watering Schedule
- High Humidity/Cooler Temps: If your home is naturally humid (above 60%) or temperatures are cooler, you might stretch watering to every 10-14 days.
- Low Humidity/Warmer Temps: In arid climates, air-conditioned rooms, or during hot summer months, you might need to water every 5-7 days.
- Visual Cues: Always observe your plants. Dry, curled, or slightly wrinkled leaves indicate thirst. A firm, vibrant plant is happy.
Light Up Their Lives: Tailoring Tillandsia Lighting for Optimal Growth
Air plants are incredibly versatile when it comes to light, but understanding their natural habitats can help you provide ideal conditions. Generally, they thrive in bright, indirect light. This means a location that receives ample ambient light but is shielded from harsh, direct sun exposure, which can scorch their delicate leaves.
Understanding Different Light Needs by Tillandsia Type
Not all air plants are created equal, and their light preferences often correlate with their leaf type:
- Mesic (Green-Leafed) Tillandsias: These varieties, often with softer, greener leaves (e.g., Tillandsia brachycaulos, Tillandsia recurvata), typically hail from rainforest-like environments where they grow under a canopy. They prefer medium to bright indirect light.
- Ideal Placement: A few feet from an east or west-facing window, or behind a sheer curtain in a south-facing window.
- Actionable Tip: If your plant looks leggy or dull, it might be seeking more light. A healthy blush of color (often red or pink) before flowering is a sign of good light.
- Xeric (Silver-Leafed) Tillandsias: Characterized by thicker, rigid, silvery leaves covered in prominent trichomes (e.g., Tillandsia xerographica, Tillandsia tectorum), these plants originate from dry, sunny environments. They can tolerate, and often prefer, brighter light, including some filtered direct sun. The silver trichomes help them reflect intense sunlight and absorb scarce moisture.
- Ideal Placement: Closer to an east or west-facing window, or even a few hours of gentle morning sun from an unobstructed window. They can handle more intense light than mesic types, but still avoid harsh midday sun without filtration.
- Actionable Tip: If the silvery sheen on these plants starts to look faded or they appear "sunburned" with brown spots, move them to a slightly less intense light source.
The Low-Light Myth
While air plants are often marketed as "low-light tolerant," they won't truly thrive or bloom in consistently dim conditions. They might survive, but their growth will be stunted, and they'll never reach their full potential. If your space is truly low-light, consider supplementing with a dedicated grow light for a few hours a day.

Showcasing Your Soil-Free Beauties: Creative Display Ideas
One of the most exciting aspects of air plants is their unparalleled versatility in display. Since they don't need soil, your imagination is the only limit! This allows you to integrate them seamlessly into any decor style, adding a touch of living art to unexpected places.
Designing with Tillandsias: Beyond the Basic Holder
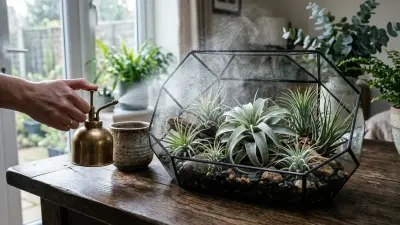
- Open Terrariums & Cloches: Create miniature ecosystems in glass. Use open terrariums (closed ones trap too much humidity and lead to rot) or decorative cloches. Fill with a layer of decorative pebbles, sand, driftwood, or preserved moss (not living moss, which retains too much moisture). Simply nestle your air plant among these elements.
- Mounted Masterpieces: Mimic their natural arboreal habitat by mounting air plants onto pieces of driftwood, cork bark, or even interesting stones. Use a plant-safe adhesive (like E6000 or a hot glue gun with low-temp glue) or thin, corrosion-resistant wire to gently secure the plant. As it grows, its "holdfast" roots will eventually attach to the surface.
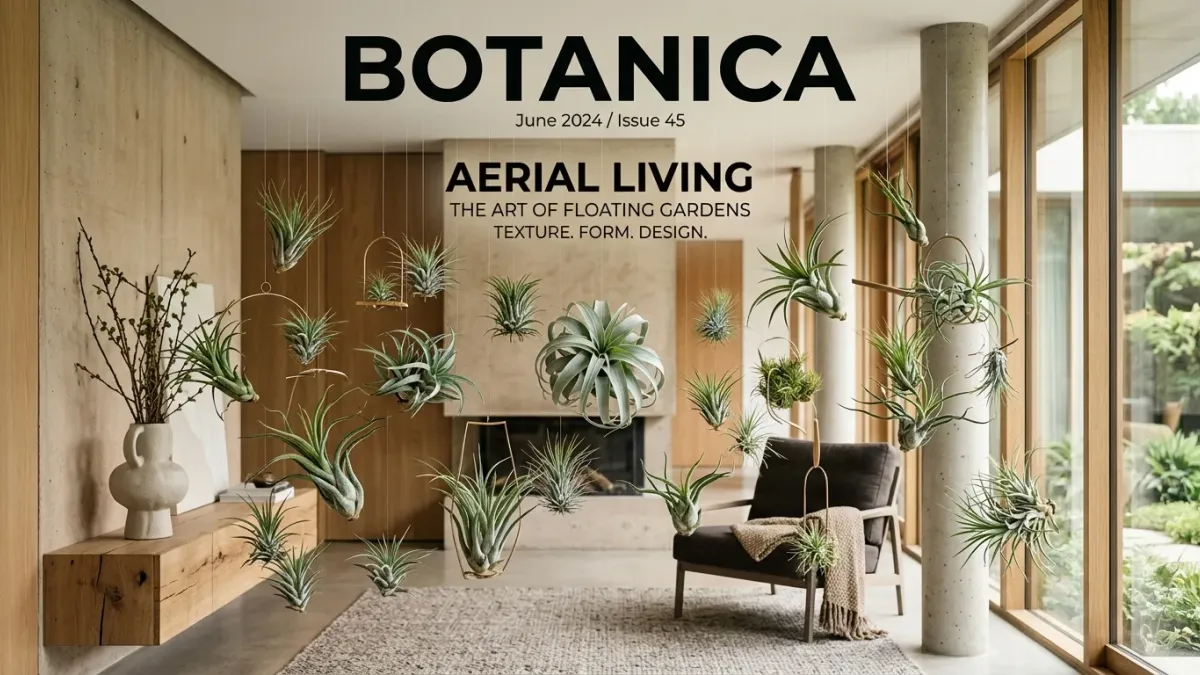
- Hanging Wonders: Suspend air plants in macrame hangers, geometric metal holders, or delicate glass orbs. This creates stunning vertical interest and allows for excellent airflow, which is critical after watering.
- Magnetic Displays: For a modern, minimalist look, attach small magnets to the base of your air plants (using plant-safe glue) and display them on metal surfaces like refrigerators, magnetic boards, or even magnetic paint walls.
- Shells & Found Objects: Small air plants like Tillandsia ionantha look adorable tucked into decorative seashells, interesting rocks with natural crevices, or even repurposed ceramic pieces. Just ensure whatever you use allows for sufficient air circulation around the plant's base.
Important Display Considerations
- Airflow is King: Always prioritize good air circulation around your air plants. Avoid tight spaces or containers that prevent airflow, especially after watering. This is why closed terrariums are generally discouraged.
- No Living Moss (Unless for Drying): While preserved moss can be decorative, avoid living moss that retains moisture, as it can contribute to rot around your air plant's base.
- Easy Removal for Watering: Design your displays so that plants can be easily removed for their weekly soak. This makes hydration a breeze rather than a chore.
Troubleshooting Common Air Plant Hurdles: Diagnosing & Reviving
Even the most seasoned plant parent encounters issues. The good news is, most air plant problems are easily diagnosed and rectified. Think of your air plant's appearance as a direct signal of its needs.
"My Air Plant Looks..."
1. Brown, Crispy Tips / Dry, Faded Leaves:
- Diagnosis: Underwatering or excessively low humidity.
- Solution: Increase watering frequency (try every 5-7 days) and/or extend soaking time to 2-3 hours. Consider placing a humidifier nearby or group plants together to create a microclimate. For severely dehydrated plants, a 4-6 hour soak can sometimes revive them.
2. Mushy, Brown/Black Base / Leaves Falling Off Easily:
- Diagnosis: Overwatering and, more critically, insufficient drying after watering. This is rot, which is almost always fatal once it reaches the core.
- Solution: Immediately cease watering. Gently remove any mushy leaves. Ensure excellent airflow and thorough drying (2-4 hours, upside down, with a fan if needed) after future waterings. Unfortunately, severe rot at the base is often irreversible.
3. Pale, Lackluster, or Leggy Growth:
- Diagnosis: Insufficient light. The plant is stretching to find more light.
- Solution: Move your air plant to a brighter location with more indirect light. Remember to differentiate between mesic and xeric types for optimal placement.
4. Scorched or Bleached Spots on Leaves:
- Diagnosis: Too much direct sunlight.
- Solution: Relocate the plant further from the window or provide a sheer curtain to filter intense rays, especially from south or west-facing windows during peak sun hours.
5. No Flowers (or "Pups" / Offsets):
- Diagnosis: While sometimes just a matter of age, often it's due to insufficient light or nutrient deficiency.
- Solution: Ensure your plant is getting adequate bright indirect light. Consider fertilizing. Use a balanced, water-soluble bromeliad-specific fertilizer (air plants are part of the Bromeliad family) diluted to 1/4 strength, once a month during the active growing season (spring/summer). You can add this to their soak water.
6. Pests (Rare, but Possible):
- Diagnosis: Look for tiny white mealybugs, scale, or spider mites, usually in leaf crevices.
- Solution: Isolate the plant. Gently wipe pests off with a cotton swab dipped in rubbing alcohol. For more persistent infestations, a diluted neem oil spray (ensure it's plant-safe and rinse after application to avoid residue buildup) can be effective.
Your Weekly Air Plant Power-Up: A Quick Checklist
To keep your Tillandsias thriving with minimal fuss, here’s a simple routine:
- Every 7-10 Days: Perform the "soak-and-shake" method for 1-2 hours. Immediately after, ensure thorough drying within 2-4 hours in a well-ventilated spot.
- Daily/Every Few Days (Optional, If Very Dry): A light misting can supplement, but never replace, a full soak, especially in arid environments.
- Monthly (Spring/Summer): Add a diluted (1/4 strength) bromeliad fertilizer to their soak water to encourage robust growth and blooming.
- Continuously: Monitor light levels and humidity. Adjust placement as seasons change. Check for any signs of dehydration or overwatering.
- As Needed: Gently remove any dead or dying leaves from the base to promote air circulation and prevent rot.
With these comprehensive, actionable steps, you're now equipped to move beyond basic survival and truly cultivate stunning, vibrant air plants that will be the envy of your indoor garden. Enjoy the unique beauty and ease these soil-free wonders bring to your space!